Water heaters are indispensable appliances in modern households, providing the hot water necessary for a multitude of daily activities, including bathing, cooking, and cleaning. Despite their critical role, water heaters often remain neglected until they malfunction or fail entirely. Proper maintenance of your water heater is essential not only for ensuring a consistent supply of hot water but also for extending its lifespan, which can save you substantial amounts of money on repairs and replacements. Below we will explore the steps you can take to prolong the life of your water heater and maintain its optimal performance.
Regular Inspection: The First Step to Longevity
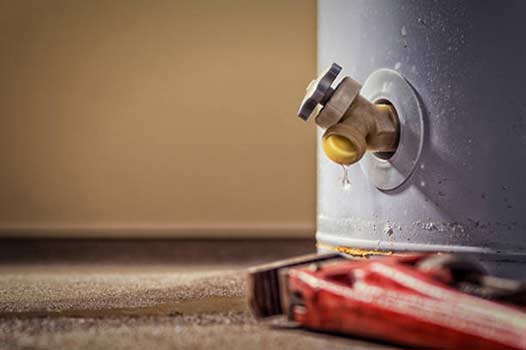
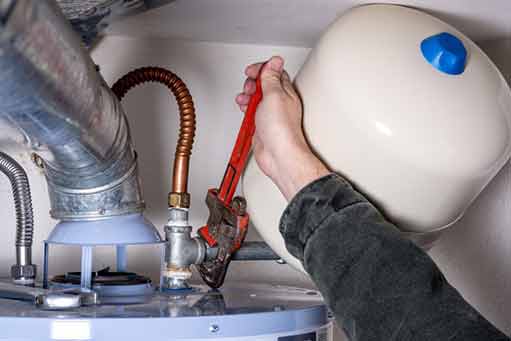
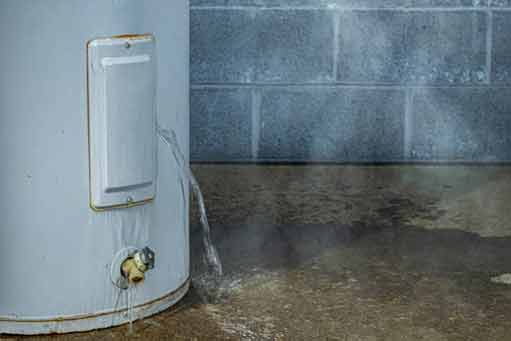
Conducting regular inspections is a fundamental aspect of water heater maintenance. By routinely examining your water heater, you can identify potential issues before they escalate into costly repairs. Begin by inspecting the exterior of the water heater for any signs of wear and tear, such as rust or corrosion. Pay close attention to the connections and valves, checking for any leaks or drips, as these can lead to water damage and diminish the efficiency of the heater. Additionally, listen for any unusual noises, which could indicate sediment buildup or other internal issues. By addressing these problems early, you can prevent further damage and extend the life of your water heater.
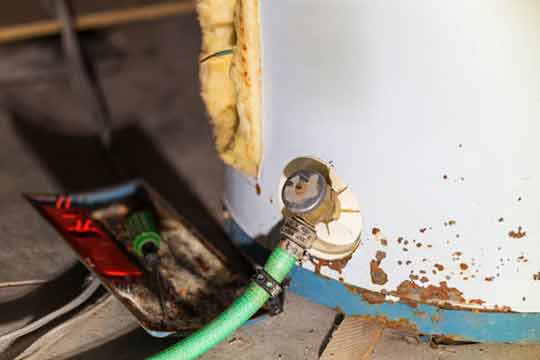
Flushing the Tank: Preventing Sediment Buildup
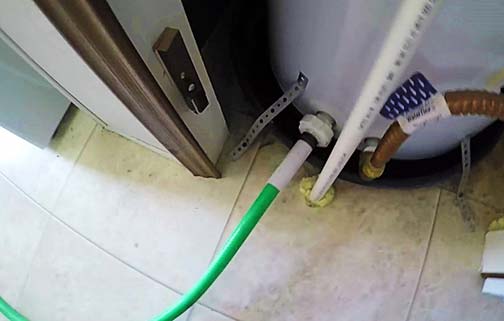
Over time, sediment and minerals can accumulate at the bottom of the water heater tank, reducing its efficiency and potentially causing damage. Flushing the tank is a simple yet effective way to prevent sediment buildup and maintain the heater’s performance. To flush the tank, turn off the power supply and water inlet, attach a hose to the drain valve, and direct the water to a suitable drainage area. Open the valve and allow the water to flow out until it runs clear, indicating that the sediment has been removed. This process should be done at least once a year to keep your water heater in top condition.
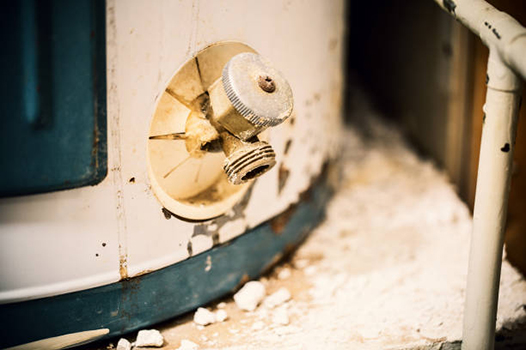
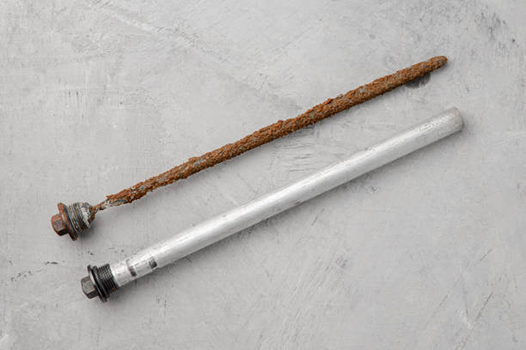
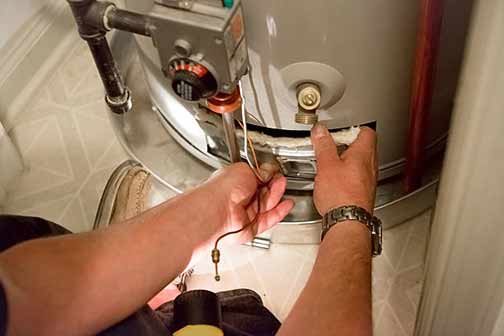
Checking the Anode Rod: A Key Component in Corrosion Prevention
The anode rod is a critical component in your water heater that helps prevent corrosion. It attracts corrosive elements in the water, sacrificing itself to protect the tank. Over time, the anode rod will corrode and need replacement. To check the anode rod, turn off the power and water supply, then remove the rod using a wrench. Inspect it for significant corrosion or wear; if more than six inches of the core steel wire is exposed, it’s time to replace the rod. Regularly checking and replacing the anode rod can significantly extend the life of your water heater.
Temperature Settings: Balancing Efficiency and Safety
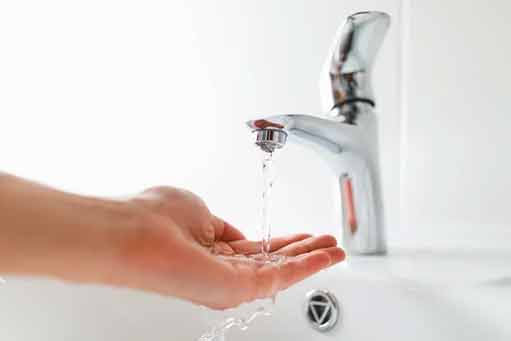
Setting the right temperature for your water heater is crucial for both efficiency and safety. The ideal temperature setting is typically around 120 degrees Fahrenheit. This temperature is hot enough to prevent bacterial growth while reducing the risk of scalding. Additionally, lower temperatures reduce energy consumption and minimize the wear on the heating elements, prolonging the life of the water heater. Regularly check and adjust the thermostat to ensure your water heater operates at the optimal temperature.
Insulating the Heater and Pipes: Enhancing Efficiency
Insulating your water heater and the surrounding pipes is an effective way to improve efficiency and reduce energy costs. Insulation helps retain heat, allowing the water heater to maintain the desired temperature with less energy. Wrap an insulating blanket around the tank and use pipe insulation on the first few feet of the hot and cold water pipes. This simple step can significantly reduce heat loss and extend the life of your water heater by reducing the workload on the heating elements.
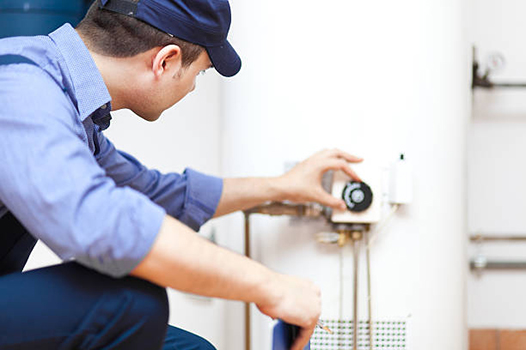
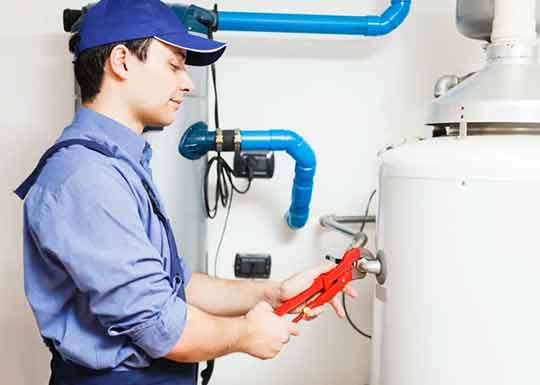
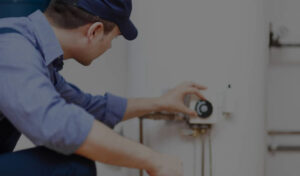
Professional Maintenance: When to Call the Experts
While regular DIY maintenance is essential, there are times when professional assistance is necessary. If you notice persistent issues such as leaks, strange noises, or inconsistent water temperatures, it’s time to call a professional plumber. They have the expertise and tools to diagnose and repair complex problems, ensuring your water heater operates efficiently. Regular professional inspections and maintenance can catch potential issues early, prolonging the life of your water heater and preventing a premature replacement of your water heater.
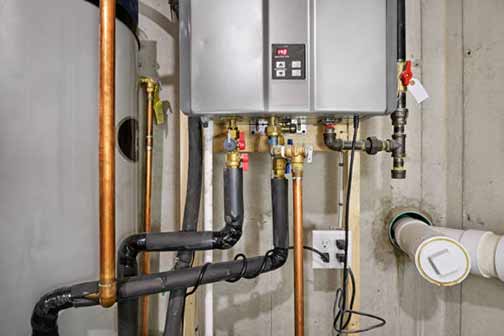
Different types of water heaters, such as tankless, electric, and gas, require specific maintenance approaches.
Understanding Water Heater Types: Tailoring Maintenance to Your Model
Different types of water heaters, such as tankless, electric, and gas, require specific maintenance approaches. Understanding your water heater model is crucial for effective maintenance. For instance, tankless water heaters demand periodic descaling to remove lime deposits, while gas heaters need regular inspection of the burner assembly. Recognizing the unique needs of your water heater type allows you to tailor maintenance efforts, ensuring longevity and optimal performance.
Eco-Friendly Practices: Reducing Environmental Impact
Incorporating eco-friendly practices into your water heater maintenance routine can reduce your household’s environmental impact. Consider installing a timer to regulate the heater’s operation, minimizing energy waste. Additionally, explore renewable energy options, such as solar water heaters, to further decrease reliance on conventional energy sources. By adopting sustainable practices, you contribute to environmental conservation while extending the life of your water heater.
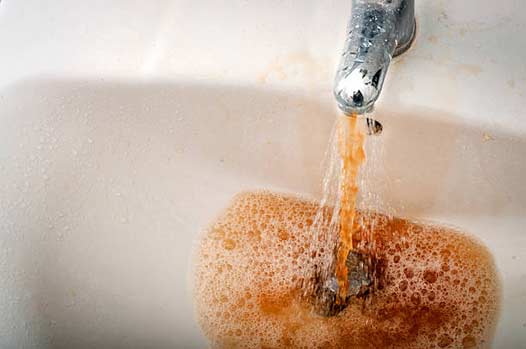
Monitoring Water Quality: Protecting Your Heater from Harmful Elements
Water quality plays a significant role in the longevity of your water heater. Hard water, characterized by high mineral content, can accelerate sediment buildup and corrosion. Installing a water softener can mitigate these effects, protecting the heater’s internal components. Regularly testing and monitoring water quality ensures you can address potential issues promptly, safeguarding your water heater and enhancing its performance.
Energy Efficiency Upgrades: Investing in Long-Term Savings
Consider upgrading to energy-efficient water heater models to maximize savings and longevity. Modern water heaters boast advanced features, such as improved insulation, smart thermostats, and energy-saving modes, reducing operational costs and extending the unit’s lifespan. While the initial investment may be higher, the long-term benefits of reduced energy bills and enhanced durability make energy-efficient upgrades a worthwhile consideration.
Conclusion: Commitment to Maintenance for Long-Term Benefits
Prolonging the life of your water heater requires a commitment to regular maintenance and timely interventions. By following the steps outlined in this article, you can ensure your water heater remains efficient and reliable for years to come. Regular inspections, flushing the tank, checking the anode rod, adjusting temperature settings, insulating the heater, and seeking professional help when needed are all crucial components of a comprehensive maintenance plan. By taking these proactive measures, you not only save money on energy bills and repairs but also contribute to a more sustainable and efficient household.