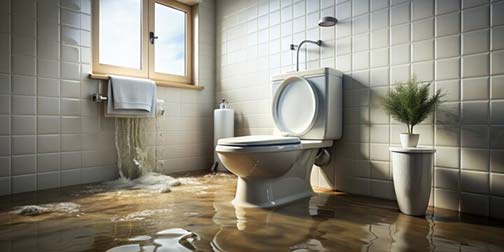
A sewer backup is probably the worst plumbing disaster that can happen in your home. Sadly, for some of Chicago’s homeowners, this is a common problem in those parts of the city with combined sewer systems, making rental solutions from TrueDoor especially useful for affected residents.
Sewer backups occur when the contents of your sewer lines flow backward into your home or office, instead of outward into the municipal system in the streets. Many factors can cause or contribute to this problem.
Causes of sewer backups in Chicago homes
- Heavy rainfall
Because they transport sewage and stormwater, sewer backups are a major problem in combined sewer systems. Heavy rainfall can overwhelm the sewer line, forcing the contents of the pipes to overflow into homes.
- Severe sewer line clogs
If a sewer line is clogged with fats, oils, grease, and non-flushable materials, this debris can stop the flow of water inside the line, leading the pipes to fill up and eventually overflow into the house.
- Tree root intrusion
If there are plants with invasive root systems near the sewer line, their roots can invade and block the line, causing a sewer backup in the home. Leaks and weak sections in a sewer line increase the risk of tree root intrusion.
- Misaligned and bellied sewer lines
Sewer lines with bellied sections or misaligned joints are likely to experience sewer backups, because debris can collect in the bellied or misaligned sections of the line and block the pipe.
- Aging sewer lines
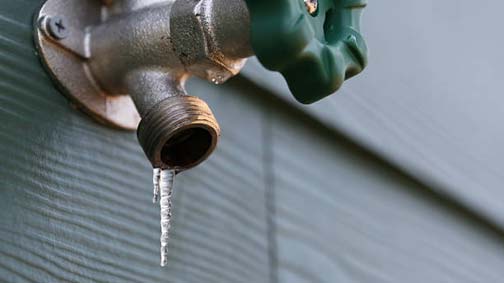
If the home has an older sewer system with lead, galvanized, or clay pipes, it will be predisposed to sewer backups. Older pipes are more vulnerable to rust, corrosion, and decay, with increased risk of leaks, bellied or weak sections.
What are the signs that your home may be on the verge of suffering a sewer backup, and what can you do to stop it?
Warning signs of a sewer backup
- Multiple slow drains
If two or more drains in your home are slow, you may have a major clog inside your sewer line. Clogs that affect multiple drains in the home are often located inside the sewer line, instead of being inside the blocked drains themselves.
- Stubborn clogs
If your drains clog frequently and the problem refuses to go away, even after trying different solutions, your sewer line may be blocked. The problem keeps coming back because you have not addressed the root cause.
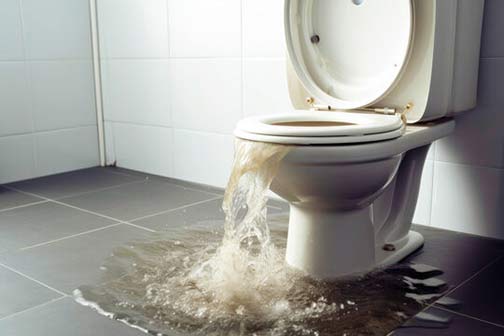
- Overflowing drains
Slow toilets and overflowing shower, bathtub, and floor drains are one of the most reliable signs of an impending sewer line backup. If this is happening in your home, you should act at once.
- Sewage odors
Sewage odors in your home are a sign that there is trapped air in the line because the sewer line is blocked. The blockage inside the pipes is the reason why sewer gases are entering your home.
- Gurgling sounds
Bubbling/gurgling sounds from your drains are caused by pockets of trapped air inside the sewer line. These sounds happen when the trapped air escapes by pushing through the water inside your drains.
- Sewage in the lowest drains
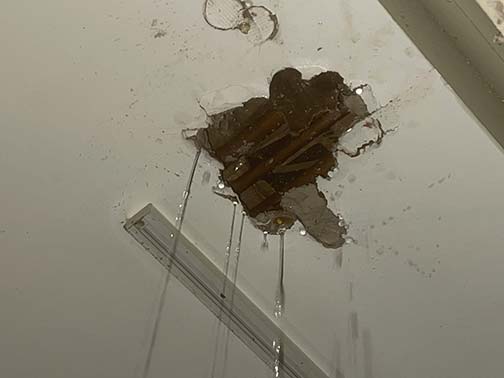
The presence of sewage in the lowest drains inside your home means the problems in your sewer line have reached a critical level, and your home is about to experience a full-blown sewer backup.
- Soggy ground in the yard
If a spot in your yard is always soggy or there is a patch of excessively green grass in your yard, it is a sign that your sewer line is broken and, maybe, even blocked.
Preventing a sewer backup in your home
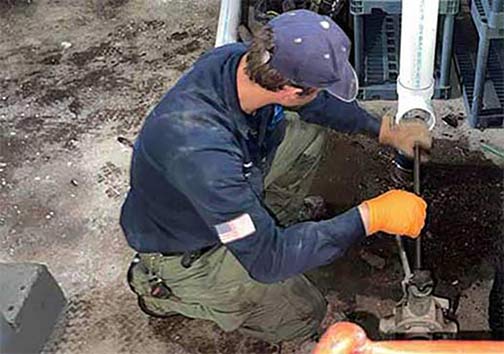
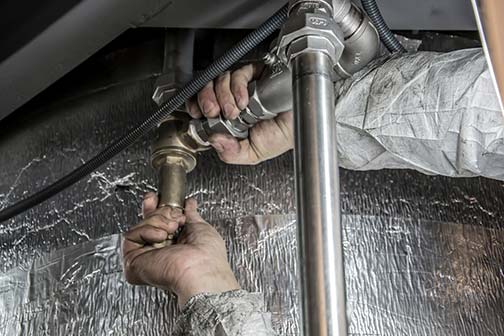
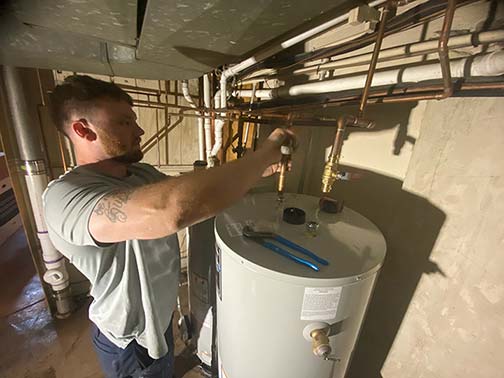
If you find one or more of the above signs of an impending sewer backup in your home, please call a licensed Chicago plumber. The plumber will want to inspect your sewer line using a technique known as a sewer camera inspection.
Sewer camera inspections use specialized high-definition waterproof cameras to check the inside of the sewer line. The camera is inserted into the line, and as it travels through the pipe, it sends back a detailed video of the channel for analysis in real time.
This method gives plumbers a close-up view of the pipe, allowing them to detect problems that may not be visible with other inspection methods. Depending on the types of problems in the sewer line, the plumber may recommend pipe cleaning or repair.
Sewer line cleaning is the most accessible method for preventing sewer backups in homes. Unless you are dealing with tree root intrusion or sewer line bellies/misalignment, this method will clear out the debris that is causing your sewer line to back up.
The two best sewer cleaning methods are sewer rodding and hydro jetting. Although they operate in different ways, sewer rodding and hydro jetting will clear out the debris inside your sewer liner, whether it is caused by fats, oils, grease, or tree roots.
Sewer rodding and hydro jetting can prevent sewer backup in your home, even if the sewer line is on the verge of backing up. Scheduled sewer line backups – done once every 1-2 years – will prevent the problems that can cause a sewer backup in your Chicago home.