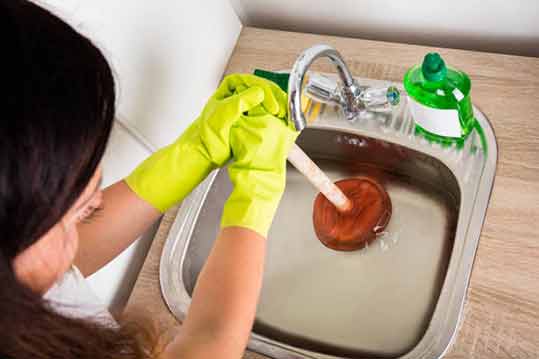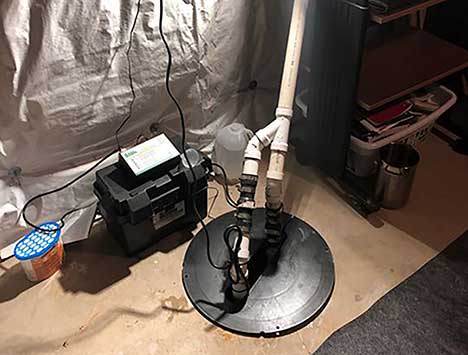
When it comes to protecting your basement from water damage, a sump pump is an essential piece of equipment. A sump pump is a specifically designed pump that is installed in a basement or crawl space to prevent flooding and water damage to your home. Located in a pit, the sump pump will automatically turn on and pump water from the pit and away from your home.
If you live in Chicago, you might be wondering how much it will cost to install a sump pump. While there is no one-size-fits-all answer, this article will provide you with an estimation of the installation cost, factors that impact the cost, and things to consider before you install a sump pump.
Factors Affecting the Installation Cost of a Sump Pump in Chicago
The cost of a sump pump installation in Chicago is determined by several factors. Here are some of these factors:
The Type of Sump Pump
There are several types of sump pumps available in the market, and each type has its price range. For instance, a submersible sump pump, which is installed underground in a sump pit, is more expensive than a pedestal pump that sits above the sump pit. The type of pump you choose, therefore, plays a significant role in the installation cost.
The Size of Your Basement
The larger the basement, the more expensive it will be to install a sump pump. The reason is that larger basements require bigger sump pumps to pump the water out.
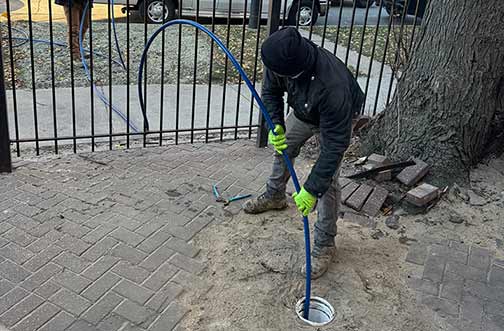
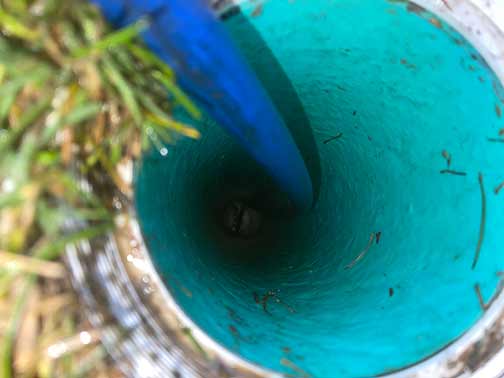
The Depth of the Sump Pit
The depth of the sump pit also affects the installation cost. A deeper sump pit will require a more expensive pump and more labor hours to install.
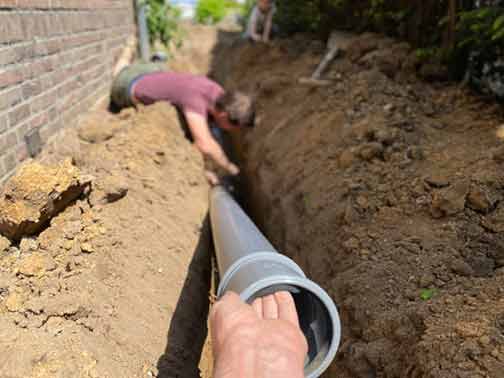
The Type of Discharge System
The discharge system is an essential part of the sump pump installation. It ensures that the water is pumped away from your home and into the storm drain or a designated drainage area. If you opt for a more complex discharge system, the installation cost will be higher.
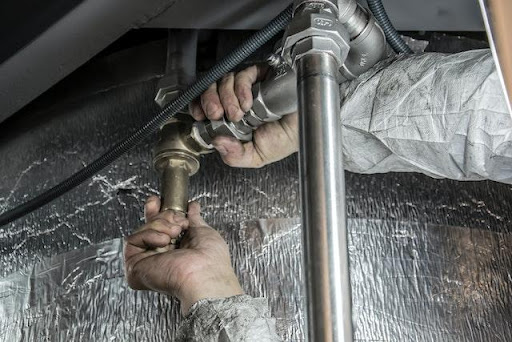
The Complexity of Installation
If the installation requires cutting through concrete floors, the cost of installation will be higher. An experienced plumber will charge you more if they have to remove obstacles like pipes, HVAC equipment, storage units, or electrical work to install the sump pump.

How Much Does a Sump Pump Installation Cost in Chicago?
The cost of installing a sump pump in Chicago ranges from $800 to $3,000, with the average cost being $1,500. The cost of installation is determined by the factors listed above.
The Type of Sump Pump
A pedestal pump is cheaper than a submersible sump pump. On average, a pedestal pump costs between $100 and $200, while a submersible sump pump costs between $200 and $600.
The Size of Your Basement
The larger your basement, the larger the sump pump will be. On average, a sump pump for a small basement costs between $150 and $400, while a sump pump for a larger basement costs between $400 and $600.
The Depth of the Sump Pit
The deeper the sump pit, the more expensive the sump pump will be. A sump pump for a shallow pit costs between $200 and $400, while a sump pump for a deep basement pit costs $400 or more.
The Type of Discharge System
The discharge system consists of a pipe that directs water to a designated drainage area or the storm drain. Simple discharge systems cost between $50 and $200, while more complex systems that require digging or additional piping can cost between $500 and $2,000.
The Complexity of Installation
The cost of installation depends on how complex the installation is. If the installation requires cutting through concrete, the cost will be higher. On average, sump pump installation costs between $300 and $1,000.
Should You Install a Sump Pump?
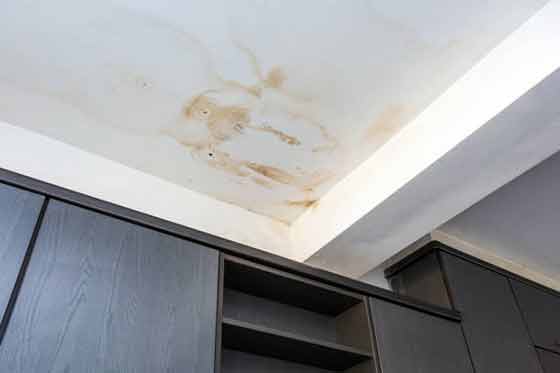
If you live in Chicago, where heavy rains and snowmelt can cause frequent basement flooding, installing a sump pump is a great idea. A sump pump can save you thousands of dollars in water damage, as well as prevent mold and mildew growth.
Before you install a sump pump, there are a few things to consider:
Your Home Insurance Policy
Some homeowners’ insurance policies cover flooding, while others do not. Before having a sump pump professionally installed, check your existing insurance policy to see if you are covered for water damage.
The Condition of Your Foundation
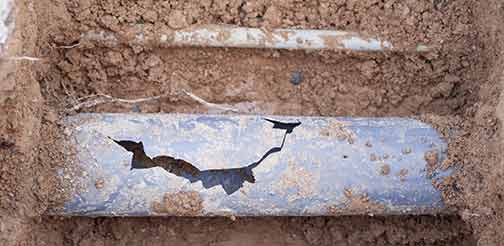
If there are any cracks or damages to your foundation, installing a sump pump may not be enough to prevent flooding. Before you install a sump pump, make sure your foundation is in good shape.
The Cost of Maintenance
Like any other mechanical device, a sump pump requires maintenance, such as periodic cleaning and replacing worn-out parts. Before you install a sump pump, factor in the cost of maintenance.
Conclusion
A sump pump is an invaluable tool in preventing basement flooding and water damage. While the installation cost for a sump pump in Chicago varies, it is necessary to determine the type of sump pump, the size of your basement, the depth of the sump pit, the type of discharge system, and the complexity of installation. Before installing a sump pump, check your home insurance policy, inspect your foundation, and factor in the cost of maintenance.
—
Interested in having a new sump pump installed or your current sump pump replaced in Chicagoland? We offer free estimates and can be reached at 773-599-9181 or you can fill out the form below.