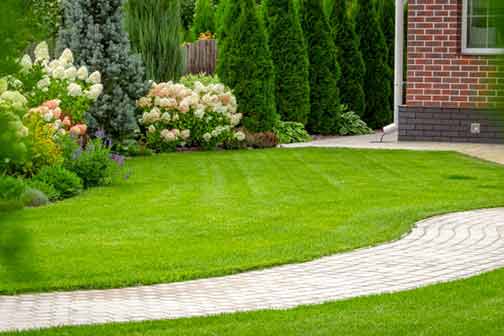
Maintaining a healthy home landscape goes beyond having beautiful gardens and lush lawns; it also encompasses preserving the infrastructure that supports it. One of the key components of your landscape’s infrastructure is the piping system that supplies water and irrigation to the various areas of your property. However, over time, these pipes may experience leaks, cracks, or other damages that can lead to significant water loss and potential landscape damage.
To prevent further harm to your landscape and ensure the longevity of your piping system, proper pipe repair techniques are crucial. This article will explore some effective methods to repair your pipes while saving your precious landscape.
Detecting Pipe Issues
Before addressing pipe repairs, it is essential to identify and locate any issues within your piping system. Signs of pipe problems may include low water pressure, unexplained increases in water bills, damp areas on your lawn, or pooling water where it shouldn’t be. Additionally, if you notice an unusual decrease in the health or appearance of your landscape despite regular maintenance, there may be hidden pipe issues contributing to the problem.
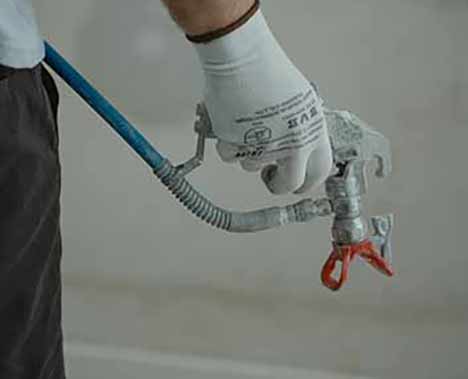
To detect pipe issues, it is advisable to hire an underground leak detection service or use specialized equipment such as leak detection devices or thermal imaging cameras. These methods help locate potential leaks, cracks, or clogs within your piping system, enabling a targeted approach to repairs.
Non-Invasive Pipe Repair Techniques
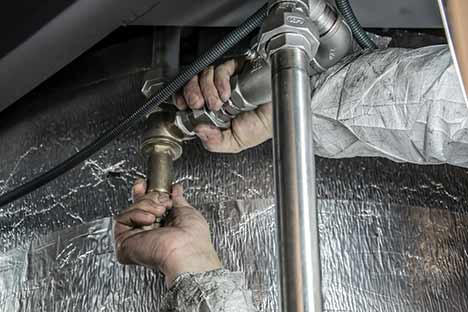
When it comes to repairing your pipes while saving your landscape, non-invasive techniques are the most favorable option. Not only do they minimize disruption to your landscaping, but they also save you from incurring significant costs associated with digging up and replacing pipes.
One popular non-invasive pipe repair technique is trenchless pipe lining or relining. This process involves rehabilitating damaged pipes from within without the need for excavation. A durable lining material is inserted into the existing pipe, creating a new, structurally sound pipe within the old one. Trenchless pipe lining effectively seals cracks, prevents leaks, and improves the overall functionality of the piping system without disturbing your landscape.
Another non-invasive technique is pipe bursting. This method is commonly used to replace sewer lines that are damaged and beyond repair. With pipe bursting, a new pipe is pulled through the damaged one, causing it to burst and displace the remnants while simultaneously installing a brand new pipe. This approach eliminates the need for extensive digging and trenching, minimizing landscape disruption.
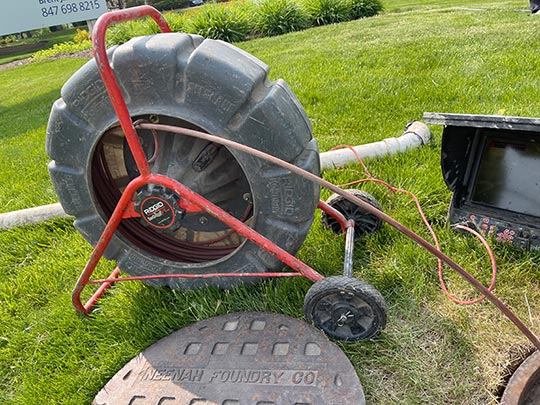
Schedule periodic sewer camera inspections of system to identify and address any sewer line issues promptly.
Preventive Measures for Pipe Maintenance
To ensure the longevity of your pipes and reduce the likelihood of landscape damage, implementing preventive measures is essential. Here are some tips to maintain a healthy piping system and preserve your landscape:
Regular Inspections: Schedule periodic camera inspections of sewer system to identify and address any sewer line issues promptly. Timely identification can prevent minor problems from escalating into major ones, saving you time, money, and potential landscape damage.
Proper Planting Techniques: When landscaping your property, be mindful of the proximity of plants, trees, or shrubs to your piping system. Plant roots can pose a risk of intrusion, leading to cracks or blockages. Consult with a professional landscaper to ensure proper plant placement, especially near buried pipes.
Adequate Drainage: Proper drainage systems play a vital role in maintaining the health of your landscape and preventing water accumulation near pipes. Ensure proper grading, install drain covers, and regularly clear debris from gutters and downspouts to minimize the risk of water-related pipe damage.
Insulate Exposed Pipes: In colder climates, insulating exposed pipes is crucial to prevent freezing and potential burst pipe emergencies. Burst pipes not only impact your piping system but can also cause extensive damage to your landscape if left unaddressed.
Educate Household Members: Teach everyone in your household about the significance of water conservation and responsible water usage. By avoiding excessive water usage, you can reduce the strain on your piping system, minimizing the chances of leaks or damages that may affect your landscape.
The Importance of Professional Assistance
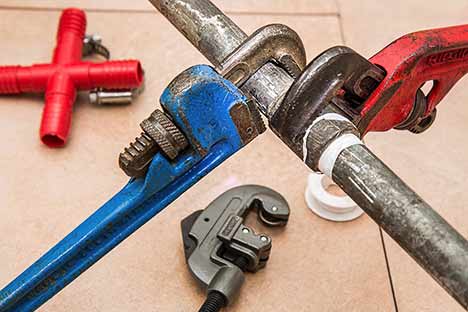
While some minor pipe repairs can be handled by homeowners, it is often recommended to seek professional assistance for significant or complex issues. Experienced plumbers have the knowledge, tools, and expertise necessary to diagnose and repair pipe problems efficiently without causing additional damage to your landscape. Hiring a professional plumber ensures that plumbing repairs are conducted accurately, providing long-lasting solutions and peace of mind.
In conclusion, protecting your landscape while repairing your pipes is not only possible but also essential for maintaining a healthy and visually appealing outdoor environment. By utilizing non-invasive repair techniques, implementing preventive measures, and seeking professional assistance when needed, you can repair your pipes without compromising the beauty and integrity of your landscape for years to come.