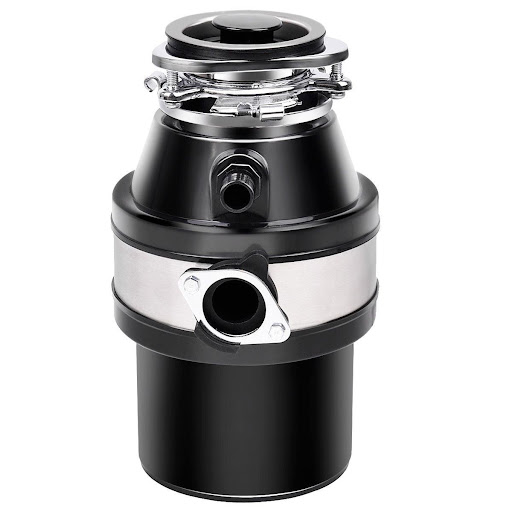
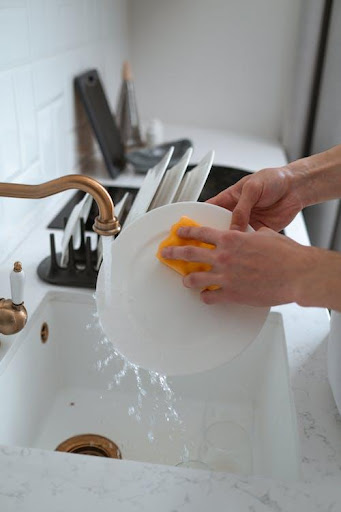
Garbage disposals are one of the most hardworking appliances in the kitchen. These small machines constantly grind away food scraps to ensure they don’t become a problem inside your home’s drain system. They cut down on the work you must do cleaning the kitchen sink.
But hidden away from view as they are – beneath the kitchen sink – it is often hard to see the physical condition of your garbage disposal. For most homeowners, the garbage disposal is fine as long as they can hear the appliance working and there are no clogs in the kitchen sink.
But PG Management warns that apart from getting jammed, other things can happen to garbage disposal. Your garbage disposal can leak, and when that happens, it can cause all sorts of problems in your home. Since it is hidden from view, you may not even know the unit leaks.
A leaking garbage disposal will cause foul odors in your kitchen, damage the area under your sink, encourage mold growth, and force you to do expensive repairs. That’s why you must know how to fix a leaking garbage disposal quickly and safely. This post will show you how.
How to fix a leaky garbage disposal
There are two areas where leaks are most likely to happen in a garbage disposal; the leak could result from damage to the rubber gasket at the top of the appliance or due to issues with the flange which goes through your kitchen sink.
Needed tools and materials:
- Wrench or pliers
- Screwdriver
- New gasket (if this is the problem)
- Plumber’s putty
Fixing a leaking garbage disposal when the gasket is damaged
If the leak is from the very top rim of the disposal – the point where the rubber seal meets the flange – the leak could be due to a damaged rubber gasket. Rubber gaskets leak for four main reasons:
- The gasket has aged and becomes brittle. As a result, it no longer provides a watertight seal.
- There was no water in the garbage disposal for a long time, which allowed the rubber gasket to dry up and crack.
- In the past, the garbage disposal was removed and reinstalled without replacing the gasket, as is required whenever you remove an old disposal.
- The gasket was not evenly locked on all three sides during the installation.
To replace the rubber gasket, follow these steps:
- Disconnect the drain, unplug the power cord, and if you have a dishwasher, disconnect the dishwasher drain hose from the disposal.
- Remove the disposal by twisting the mounting nuts counterclockwise to unscrew them. Use a wrench that is the right size.
- To install the new gasket, find a convenient workspace. Position the disposal so the gasket is visible. Peel off the old gasket and replace it with the new one, ensuring it aligns appropriately and sits flat.
- To be sure you get the right gasket for your disposal, take your old gasket, along with the model number of the disposal, when going to the store.
- Once the gasket is in place, you can replace the disposal. Make sure the gasket sits flat before you lock the disposal into place. Check the mounting groves to ensure they are locked in.
- Reconnect the drain and dishwasher drain hose before you plug the power cord.
- Test the garbage disposal.
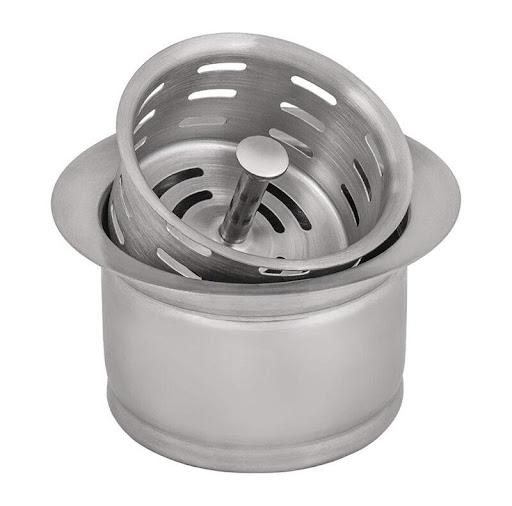
Fixing a garbage disposal that’s leaking from the flange
A garbage disposal can also spread from the flange. The flange passes through the kitchen sink to connect to the garbage disposal. It will leak if the flange is not tight enough or well-sealed with the plumber’s putty. To reseal the flange, you have to take down the disposal.
Follow these steps to do that:
- Disconnect the drain, unplug the garbage disposal power cord, and remove the dishwasher drain hose if you have a dishwasher.
- Unmount the garbage disposal by unscrewing the mounting nuts on the sides; turn them counterclockwise with the right wrench.
- Free the flange by loosening the bolts that hold it in place. Check the bottom flange to locate the clip that holds it in place; pop it out with a screwdriver. Pull the flange out from the top of the sink.
- Now you can reseal the flange. But before you do that, clean the sink opening to remove any old putty. Roll out a generous amount of plumber’s putty. Apply it to a uniform width by snaking it around the opening.
- Push the flange into position and return the clip holding the bottom flange into its place.
- Tighten the screws. Remove any excess putty from the sink. Reconnect the drain, dishwasher drain hose, and power cord.
- Test the garbage disposal.
If this doesn’t work or it feels like too much work, please call a professional plumber to help you solve the problem. It could also be that you need a new garbage disposal. If this is true, a good local plumber can help you choose the right garbage disposal for your home.