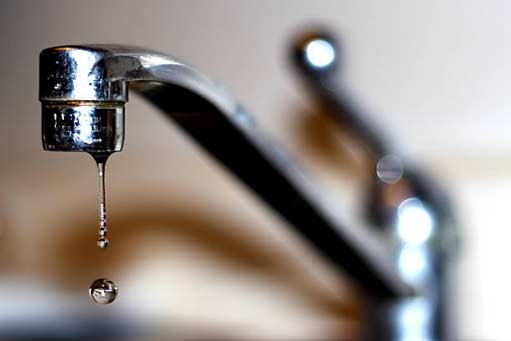
If you’re fed up with the constant dripping and wasting water, you’ve come to the right place. In this article, we will share valuable tips and tricks provided by a leading plumbing company in La Grange. With their expertise, you can solve this common household problem of leaking faucets effectively and efficiently.
Understanding Leaky Faucets
Before we delve into the solutions, let’s take a moment to understand what causes faucets to leak. Leaky faucets are primarily caused by worn-out parts, such as the rubber washers or O-rings inside the faucet handle. Over time, these components deteriorate due to regular use, leading to leaks. Ignoring a leaky faucet not only wastes precious water but can also result in higher water bills and potential damage to your plumbing system.
Why Hire a Professional Plumbing Company?
While some homeowners may attempt to fix leaky faucets themselves, it’s always recommended to hire a professional plumbing company. Here’s why:
- Expertise: Professional plumbers have years of experience and knowledge in dealing with plumbing issues, including leaky faucets. They can quickly identify the root cause of the problem and provide a long-lasting solution.
- Quality Service: By hiring a reputable plumbing company in La Grange, you can expect top-notch service and workmanship. They use high-quality tools, materials, and techniques to ensure the problem is fixed correctly.
- Time and Cost-Efficient: Attempting to fix a leaky faucet yourself may lead to wasted time and money if the problem persists or worsens. Professional plumbers can efficiently repair the faucet, saving you both time and money in the long run.
- Additional Services: Plumbing companies often offer a range of other services, such as drain cleaning services, pipe repairs, and installation of new fixtures. By establishing a relationship with a trusted plumbing company, you have a reliable resource for all your plumbing needs.
You can usually find the shut-off valve under the sink. If there isn’t a dedicated shut-off valve, consider shutting off the main water supply to your home temporarily.
Expert Tips and Tricks
Now that we understand the importance of hiring a professional plumbing company, let’s explore some tips and tricks they recommend for dealing with leaky faucets:
1. Assess the Severity of the Leak
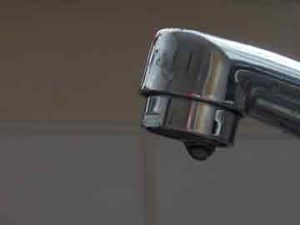
Start by determining the severity of the leak. Is it a steady drip or a continuous stream of water? Knowing the extent of the leak will help you gauge the urgency of the repair.
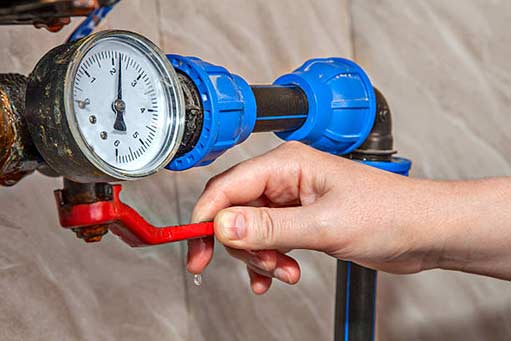
2. Turn Off the Water Supply
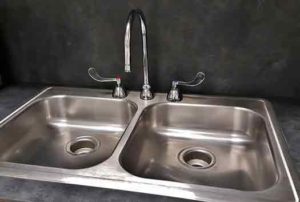
Before attempting any repairs on a leaky faucet, it’s crucial to turn off the water supply to that specific fixture. You can usually find the shut-off valve under the sink. If there isn’t a dedicated shut-off valve, consider shutting off the main water supply to your home temporarily.
3. Gather the Necessary Tools
Having the right tools on hand will make the repair process smoother. Some essential tools for fixing leaky faucets include an adjustable wrench, screwdrivers, pliers, and replacement parts such as washers and O-rings.
4. Identify the Type of Faucet
There are different types of faucets, and the repair method may vary depending on the type. The four most common types of faucets are:
- Compression Faucets: These faucets have separate handles for hot and cold water and require a complete washer replacement.
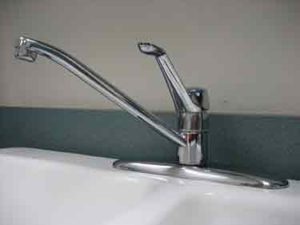
- Cartridge Faucets: These faucets have a single handle to control both hot and cold water. They often require cartridge replacement.
- Ball Faucets: These faucets also have a single handle but use a ball and cam assembly. Repairing this type of faucet usually involves replacing the entire cam assembly.
- Disc Faucets: These faucets have a single handle and use inlet and outlet seals. Repairing disc faucets typically involves replacing the inlet and outlet seals.
Identifying the type of faucet will help you proceed with the appropriate repair method. If you’re unsure, contact a local plumber for guidance.
5. Disassemble the Faucet
To access the faulty components inside the faucet, you’ll need to disassemble it carefully. Follow these general steps:
- Close the drain to prevent any small parts from accidentally falling into it.
- Remove decorative handles or caps covering the screws.
- Unscrew the handle screws and remove the handles.
- Using a wrench, unscrew the bonnet or collar nut to expose the stem.
- Remove the stem and inspect the components for damage or wear.
6. Replace Faulty Components
Once you have identified the faulty components, replace them with new ones. This may involve replacing washers, O-rings, cartridges, or other specific parts depending on the faucet type. Make sure to use high-quality replacement parts to ensure durability.
7. Reassemble the Faucet
After replacing the necessary parts, carefully reassemble the faucet in the reverse order of disassembly. Ensure all parts are tightened securely but be cautious not to overtighten, as this can cause damage.
8. Test for Leaks
Once you’ve reassembled the faucet, turn on the water supply and test for any leaks. If you notice any leaks, double-check that all components are correctly installed and tighten them if necessary.
Dealing with leaky faucets doesn’t have to be a hassle when you have the right knowledge and guidance. Hiring a professional plumbing company in La Grange ensures that the job is done efficiently and effectively, saving you time, money, and frustration. By following the tips and tricks provided in this guide, you can tackle leaky faucets confidently and maintain a functional plumbing system in your home. Remember, if you’re unsure about any step or encounter a complex issue, don’t hesitate to contact a professional plumber for assistance. Happy fixing!
If you need assistance with any plumbing repairs in the La Grange area, please contact us below: