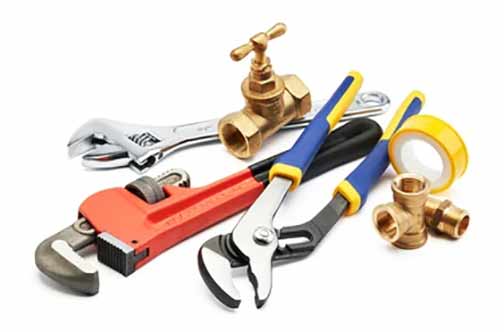
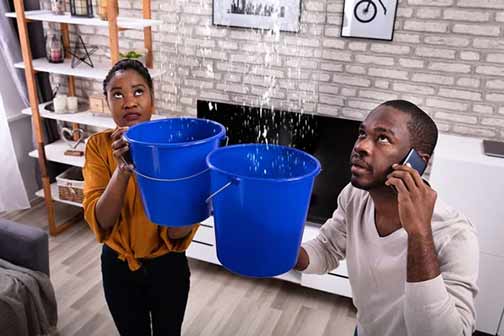
Burst Pipes: Understanding the Causes and Solutions
One of the most disastrous plumbing issues that can cause severe water damage in your home is burst pipes. These incidents often occur during extreme weather conditions, particularly in colder climates where freezing temperatures can cause the water inside pipes to expand and eventually crack or explode the pipe walls. However, burst pipes can also result from high water pressure, corrosion, or physical damage.
To prevent burst plumbing pipe emergencies, consider insulating your pipes during winter, especially those exposed to unheated areas such as basements, attics, and garages. Schedule regular inspections to identify any signs of corrosion or wear and tear, and ensure that your home’s water pressure remains within safe levels. Addressing potential issues early on can help you avoid the significant water damage associated with burst pipes.
Leaking Faucets: A Small Drip Leading to Major Problems
Leaking faucets may seem like a minor inconvenience, but over time, they can cause substantial water waste and damage. Persistent drips can lead to water staining, mold growth, and structural damage to countertops and cabinets. The constant presence of moisture can also attract pests.
Regularly check faucets for leaks and promptly replace worn-out washers, O-rings, or cartridges. If you notice persistent issues, it may be time to consider replacing the entire faucet. Taking action sooner rather than later can save you from more extensive repairs and water damage.
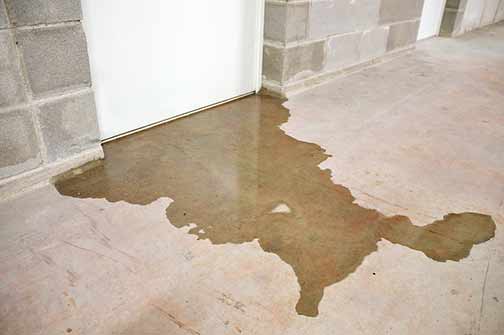
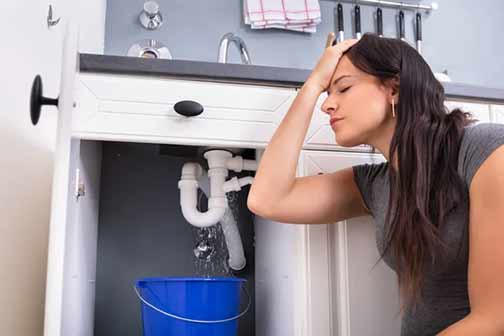
Clogged Drains: Preventing Blockages and Overflow Issues
Clogged drains are a common plumbing issue that can lead to overflows and water damage. Hair, soap scum, grease, and food particles can accumulate over time, causing blockages that prevent water from flowing freely. When a drain becomes clogged, water can back up and spill over, leading to water damage in your home.
To prevent clogged drains, be mindful of what you allow to go down the drain. Use drain screens to catch hair and food debris, and avoid pouring grease or oil down the sink. Regularly clean your drains with a mixture of baking soda and vinegar to break down buildup. If you experience persistent clogs, consider contacting a professional drain cleaning service for a more thorough cleaning.
Water Heater Issues: Maintaining Efficient and Safe Operation
Water heaters are essential for providing hot water in your home, but they can also pose a risk for water damage if not properly maintained. Leaks, corrosion, and sediment buildup inside the tank can result in water damage to surrounding areas. Additionally, malfunctioning water heaters can lead to scalding water temperatures, posing a safety hazard.
To prevent water heater issues, schedule regular maintenance checks to flush out sediment buildup and inspect for signs of corrosion or leaks. Ensure that the temperature is set to a safe level and that pressure relief valves are functioning correctly. Regular maintenance can extend the life of your water heater and prevent costly water damage.
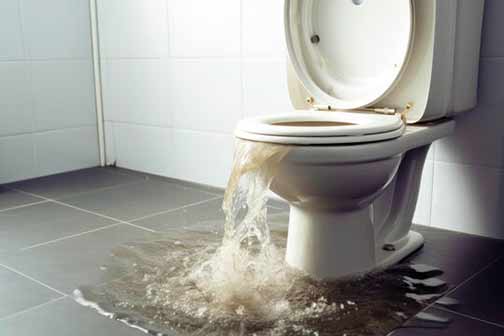
If you experience frequent toilet overflows, it may be necessary to have a professional plumber inspect your plumbing system for underlying issues.
Toilet Overflows: Addressing Common Causes and Prevention
Toilet overflows are not only a major inconvenience but can also lead to extensive water damage in your home. Common causes of toilet overflows include clogs in the toilet drain or sewer line, malfunctioning float mechanisms, and issues with the fill valve.
To prevent toilet overflows, avoid flushing non-biodegradable items such as wipes, sanitary products, and excessive toilet paper. Regularly inspect the toilet’s internal components to ensure they are functioning correctly and replace any worn-out parts. If you experience frequent toilet overflows, it may be necessary to have a professional plumber inspect your plumbing system for underlying issues.
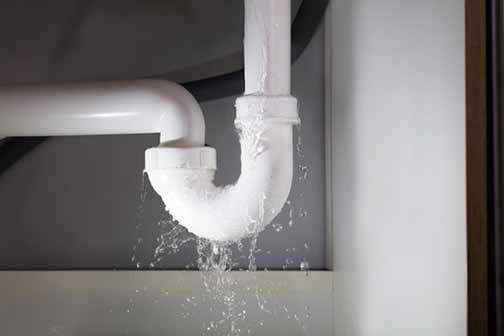
Washing Machine Hose Leaks: Preventing Unseen Water Damage
Washing machine hoses are often out of sight and can go unnoticed until they cause significant water damage. Over time, hoses can become brittle, burst, or develop small leaks that lead to water damage behind walls or under flooring.
To prevent washing machine hose leaks, inspect hoses regularly for signs of wear and replace them every few years with reinforced steel braided hoses. Ensure that connections are secure and consider installing an automatic shutoff valve that cuts off water flow if a leak is detected. Proactive measures can prevent extensive water damage and costly repairs.
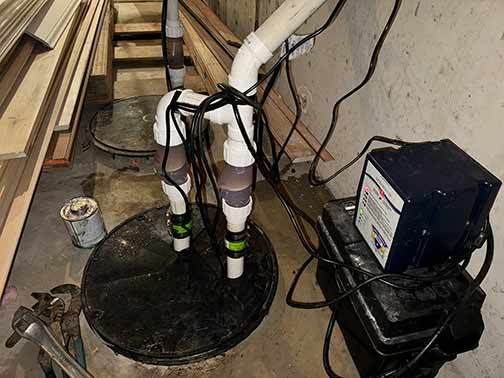
Sump Pump Failures: Safeguarding Your Basement from Flooding
Sump pumps are crucial for preventing basement flooding, especially in homes with a high water table or frequent heavy rainfall. However, sump pump failures can occur due to power outages, mechanical issues, or improper maintenance, leading to severe water damage.
To ensure your sump pump is functioning correctly, perform regular maintenance checks to clean out debris from the pump and pit. Test the pump periodically by pouring water into the pit to ensure it activates and drains the water effectively. Installing a battery backup system can provide peace of mind during power outages. Regular upkeep and testing can prevent sump pump failures and protect your basement from water damage.
Poor Drainage Systems: Ensuring Proper Water Flow and Avoiding Damage
Poor drainage systems can lead to water accumulation around your home’s foundation, causing structural damage and basement flooding. Insufficient grading, clogged gutters, and inadequate downspouts can contribute to poor drainage.
To improve drainage, ensure that your yard slopes away from the foundation and that gutters and downspouts are clean and directing water at least six feet away from the house. Having a French drain installed or surface drain system can also help manage excess water. Proper drainage is essential for preventing water damage and maintaining a stable foundation.
Preventive Measures: Proactive Steps to Protect Your Home
Taking proactive measures is key to preventing plumbing issues that can lead to severe water damage. Regular maintenance, inspections, and prompt repairs can address potential problems before they escalate.
Develop a maintenance routine that includes checking for leaks, inspecting appliances and fixtures, and keeping drains clean. Educate yourself and your family members about proper usage of plumbing systems and the importance of early detection and intervention. By staying vigilant and proactive, you can protect your home from water damage and ensure a reliable plumbing system.
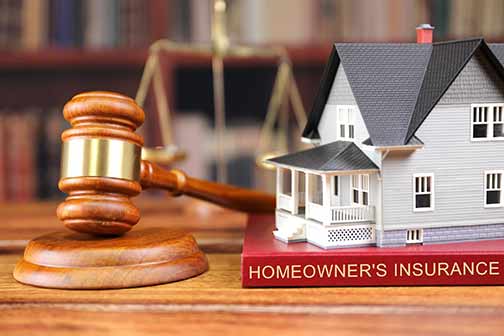
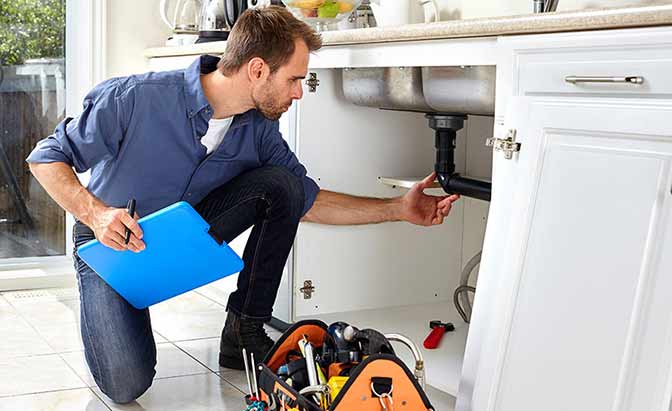
Professional Help and Routine Maintenance: Importance of Expert Intervention
While DIY maintenance can address minor plumbing issues, seeking professional help is crucial for more complex problems and routine inspections. Qualified plumbers have the expertise and tools to identify underlying issues that may not be apparent to homeowners.
Schedule regular maintenance checks with a licensed plumber to ensure that your plumbing system is in optimal condition. Professional inspections can detect potential issues early on, preventing costly water damage repairs. Building a relationship with an emergency plumbing specialist can provide peace of mind and keep your home’s plumbing system functioning efficiently.